Cyberpunk 2077 PC Settings: What Each Option Really Costs
Every Cyberpunk 2077 graphics setting ranked by real frame cost, where the menus hide them, how upscaling changes the math, and the settings that fix stutter.
Cyberpunk 2077 is the rare game where the graphics menu contains both a five-year-old laptop's worst enemy and a series of options that barely move the frame counter at all. The preset system does a terrible job of showing which is which — clicking "Ray Tracing: Ultra" flips a dozen settings at once, and most of the frame cost sits in two of them. Knowing which two is the difference between a game that stutters through Night City and one that holds its refresh rate.
This guide walks the graphics settings the way the menu presents them, with the typical frame cost of each, the paths to find them, and the settings worth touching before you touch anything else. One caveat up front: CD Projekt Red still reshuffles the menu with major patches, so exact wording and placement can shift between versions — the settings themselves have been stable since the 2.0 overhaul. Menu paths noted here reflect the 2.x versions.
Before the menu: the two settings that are not graphics settings
Open Settings → Gameplay first. Two sliders here change how the game feels more than any rendering option:
- Motion Blur / Film Grain / Chromatic Aberration / Lens Flare / Depth of Field — the "cinematic effects" cluster. Depth of field and motion blur cost a few percent of performance, but the real reason to turn them off is control feel: in firefights, blur across the screen edges hides enemies. Disabling all five is free accuracy.
- Field of view — not in the graphics tab, and wider FOV renders more of the world each frame. It costs a few percent, and it is a taste setting: set it once, stop paying for it twice.
Then check Settings → Video: confirm your monitor's native resolution and maximum refresh rate are actually selected. An alarming share of "this game runs badly" reports are a 144 Hz panel running at 60 because the game defaulted to a safe value.
The built-in benchmark is the only number that matters
From the graphics settings screen, run the built-in benchmark before changing anything. It gives you a baseline average and, more importantly, a 1% low figure — the number that describes stutters, not averages. Change one setting, re-run, compare. Settings guides (including this one) can only rank options in relative terms; the actual frame cost of ray tracing on your specific GPU, CPU, and resolution is measured in minutes by the benchmark and by nothing else. A change is worth keeping if the average climbs and the 1% low does not fall.
Settings ranked by what they cost you
| Setting (Graphics tab) | Typical frame cost | Verdict |
|---|---|---|
| Ray tracing mode (Reflections / Shadows / Lighting...) | Very large — often halves the frame rate | Off unless the GPU is top-tier |
| Path tracing (Ray Tracing: Overdrive) | Extreme — designed for upscaling + top GPUs | Showcase only |
| Screen Space Reflections quality | Moderate | Psycho only on strong GPUs |
| Volumetric fog quality | Moderate | Medium is visually close |
| Cascaded shadows / resolution | Moderate | Medium |
| Crowd density | Small to moderate in crowds | Medium reads as "alive" |
| Ambient occlusion | Small | Medium |
| Local shadow quality / mesh quality | Small | High is cheap here |
| Texture quality | Near-zero FPS cost — VRAM cost instead | Limited by VRAM, see below |
| Anisotropic texture filtering | Near-zero on modern GPUs | Max it (16x) |
| Film grain, chromatic aberration, lens flare, motion blur, depth of field | Near-zero to small | Off — clarity, not FPS |
The pattern worth internalizing: the ray tracing toggle dominates everything else combined. On mid-range hardware, turning ray tracing off and every non-RT setting up to high typically produces several times the frame rate of the opposite allocation, with image quality most players rate as a sidegrade rather than a downgrade. The one place ray tracing still earns its cost is screenshots — reflections and lighting in glass-heavy downtown scenes have no screen-space equivalent — and that is a deliberate trade, not a default.
Texture quality is a VRAM setting, not an FPS setting
Texture quality barely changes the frame rate — what it changes is how much video memory the game reserves. Run out of VRAM and the symptom is not a lower average; it is sudden hitching as assets stream in and out, especially while driving fast through the city. Rough guide for the settings most players run:
- 6 GB VRAM — texture quality medium, ray tracing off.
- 8 GB VRAM — texture quality high, ray tracing off, upscaling on.
- 12 GB VRAM and above — texture quality high or ultra; ray tracing becomes viable with upscaling.
You can watch actual usage live: press Ctrl+Shift+Esc, open Task Manager's Performance tab, and select GPU — the "Dedicated GPU memory" readout during gameplay tells you within seconds whether texture quality is eating memory that the rest of the system needs. Headroom below the card's limit is what prevents the drive-by hitch.
Upscaling: the setting that rewrites the whole table
Under Settings → Graphics → Upscaling, the game offers DLSS (NVIDIA), FSR (AMD and everyone), and XeSS (Intel) — all of which render the game at a lower internal resolution and reconstruct it. On Quality mode the image is close to native on a 1440p or 4K panel; on balanced and performance modes the trade becomes visible but the frame gain grows.
Practical pairing: enable upscaling before judging ray tracing. Ray tracing plus upscaling on a Quality setting is the configuration CDPR balanced the RT presets around, and the combined result often beats native resolution with RT off on image quality in reflective scenes while running faster. Frame generation (DLSS 3 and later, FSR 3) doubles down on this: it inserts generated frames, which raises the perceived rate substantially but adds input latency — fine for driving and sightseeing, a real cost in gunfights. Turn it on after your base frame rate is already comfortable, never as a substitute for one.
The stutter checklist
Cyberpunk's remaining reputation for stutter has three common causes, none of them in the graphics menu:
- First-run shader compilation. The game compiles shaders as you encounter new effects; the fix is simply playing through the first hour with stutter expected. Manually deleting shader caches to "fix" stutter restarts this process from zero.
- Background overlays. Discord, GeForce/AMD overlay, MSI Afterburner's RTSS, and browser hardware acceleration all inject hooks into the render pipeline. Disabling overlays one at a time isolates the offender in minutes.
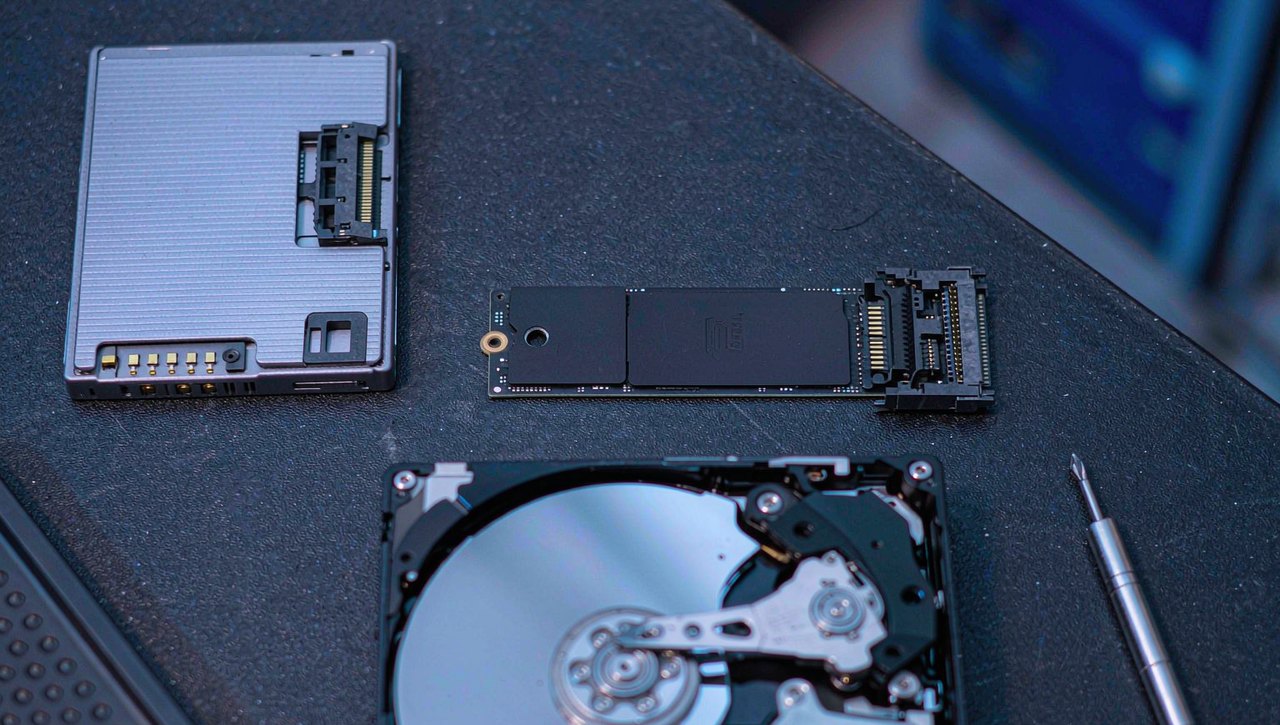
- Asset streaming from a slow drive. The game streams the city constantly; on a hard drive or a nearly-full SATA SSD, traversal stutter is the drive, not the settings. Free space matters here: keep well above the install size in free space, and see our guide to freeing space for games safely.
If crashes rather than stutters are the problem, our walkthrough of games crashing straight to desktop covers the driver and overlay triage order.
The latency stack: V-Sync, G-Sync, and frame generation
Frame rate is only half of how a game feels; the other half is delay. The settings interact in a specific order, and getting the order wrong is why some players find V-Sync "laggy":
- V-Sync alone eliminates tearing by holding frames for the monitor, but adds real input delay — the GPU waits for the display.
- G-Sync / FreeSync alone (with V-Sync off in-game) lets the monitor follow the GPU, removing tearing at far less latency, but only inside the monitor's refresh range; frame rates below the floor reintroduce stutter.
- G-Sync + a frame-rate cap just under the maximum refresh is the classic low-latency setup: sync stays engaged, and the cap keeps you inside its range. A cap a few frames under the panel's maximum is the whole trick.
- Frame generation stacks on top of this and adds its own latency budget on top of whatever you configured — one more reason it belongs after the base rate is healthy, not before.
If you change exactly one thing after the ray tracing decision, make it this: enable your monitor's adaptive sync in the GPU driver's control panel, cap the frame rate slightly under the refresh ceiling, and leave in-game V-Sync off. Compare the mouse feel across a driving segment — the difference is immediate.
What to leave to the driver
Modern drivers override most per-game graphics settings anyway, so the control-panel rabbit hole is smaller than it used to be. Still worth knowing: the driver-level low-latency mode (Ultra on NVIDIA, Anti-Lag on AMD) trims queue delay in GPU-bound scenes and pairs well with the setup above; forcing anisotropic filtering globally is harmless and free; and driver-level upscaling (NVIDIA's app-level replacements, RSR on AMD) is a worse version of the in-game upscaler — prefer the in-game option whenever it exists, because the engine knows what it is rendering. One habit worth more than any of these: update the driver only when a game update specifically calls for it, note the version you were on, and roll back if a new one misbehaves. Chasing every release turns your stable setup into a variable.
Three starting points
- Competitive frame rate (144 Hz target, mid-range GPU): RT off, upscaling Quality, textures high, volumetric fog and cascaded shadows medium, cinematic cluster off.
- Balanced beauty (60 Hz target): the same as above with screen space reflections on high and local shadow quality high.
- Showcase (high-end GPU): ray tracing: ultra with path tracing off, DLSS/FSR Quality, frame generation on, textures ultra. Run this for the city-at-night screenshots; drop back for combat-heavy missions.
Whatever you pick, resist the preset button afterward — presets overwrite your individual choices, and the whole point of walking the menu once is that you never need one again. For the general method behind this walkthrough — benchmark, change one thing, re-run — see our primer on diagnosing game stutter on Windows 11, and the rest of the settings guides live on the blog index.
Frame costs above are typical relative effects, not benchmark claims for specific hardware — your GPU, CPU, resolution, and game version change the numbers. CD Projekt Red adjusts menus and presets between patches, so option names and locations may differ slightly in your version.